
Basic setup of FreeBSD system after a fresh install.
Post Install FreeBSD
This post is intended to be a helpful guide for post-installation of FreeBSD. However, as always, it is highly recommended that you read the official FreeBSD wiki.
What is FreeBSD?
It's no coincidence that FreeBSD is one of the most popular Unix-based operating systems, second only to Linux. FreeBSD stands out for its Unix-like standard and rich history and content.
The BSD operating system is used in very popular platforms, which are widely consumed in the market today. This is due to its license, which allows you to use the code and either privatize it or keep it free, depending on the user's choices.
BSD can be used for both general-purpose servers and regular desktops. An example of this is the widely known (and expensive) macOS. Yes, the high-priced computer that costs an arm and a leg and is currently owned by Apple is based on the FreeBSD system. As mentioned earlier, the license allows you to privatize the code.
Still not convinced? Did you know that even game consoles like PlayStation 3 and 4 are built on FreeBSD? In fact, some of the most skilled users have found ways to run FreeBSD on their consoles. Incredible, isn't it?
Post-Installation of FreeBSD
After you have installed FreeBSD, it is necessary to update it to get the latest version of the system. To do this, you need to log in as root and enter the following command:
$ freebsd-update fetch && freebsd-update installThis command will fetch the updates and install them.
Updating the Ports Collection
To update the Ports Collection in FreeBSD, we need to fetch the recent patch:
$ portsnap fetchThen, extract the patches:
$ portsnap extractNow, update it:
$ portsnap updateChanging the Shell
- One thing we will do now is install the Bash shell. If you use Linux, you are likely familiar with Bash. By default, FreeBSD does not come with Bash configured, so we need to set it up. To do this, run the following command:
$ pkg install bash bash-completionHere's a brief summary:
- Bash -> A shell commonly used in Linux.
- Bash Completion -> When you press the TAB key, the command autocompletes in Bash.
To change the shell and set Bash as the default, run the command:
$ chsh -s /usr/local/bin/bashNow, restart the machine, and you'll have Bash as the default shell.
Configuring sudo
To configure sudo, we first need to install it. In this case, we will download two things: sudo and the text editor nano via the terminal:
$ pkg install nano sudoAfter installing these two packages, we need to grant our user root privileges. To do this, we will use nano to edit these configurations. Run the following command:
$ nano /usr/local/etc/sudoersNext, look for the line with root ALL=(ALL) ALL and then add your username below it. It will look like this:
root ALL=(ALL) ALL
yourusername ALL=(ALL) ALL
After that, uncomment the line:
%wheel ALL=(ALL=ALL) ALLCorrecting Your Time Zone
If you want to adjust your timezone, simply type:
$ sudo tzsetupSetting Up a Simple Firewall
To create a firewall, we need to edit the rc.conf file, so run the command:
$ sudo nano /etc/rc.confNow, add the following lines at the end:
firewall_enable="YES"
firewall_quiet="YES"
firewall_type="workstation"
firewall_myservices="22 80 443 10000"
firewall_allowservices="any"
firewall_logdeny="YES"
Now, let's start this service:
$ sudo service ipfw onestartInstalling a Graphical Interface
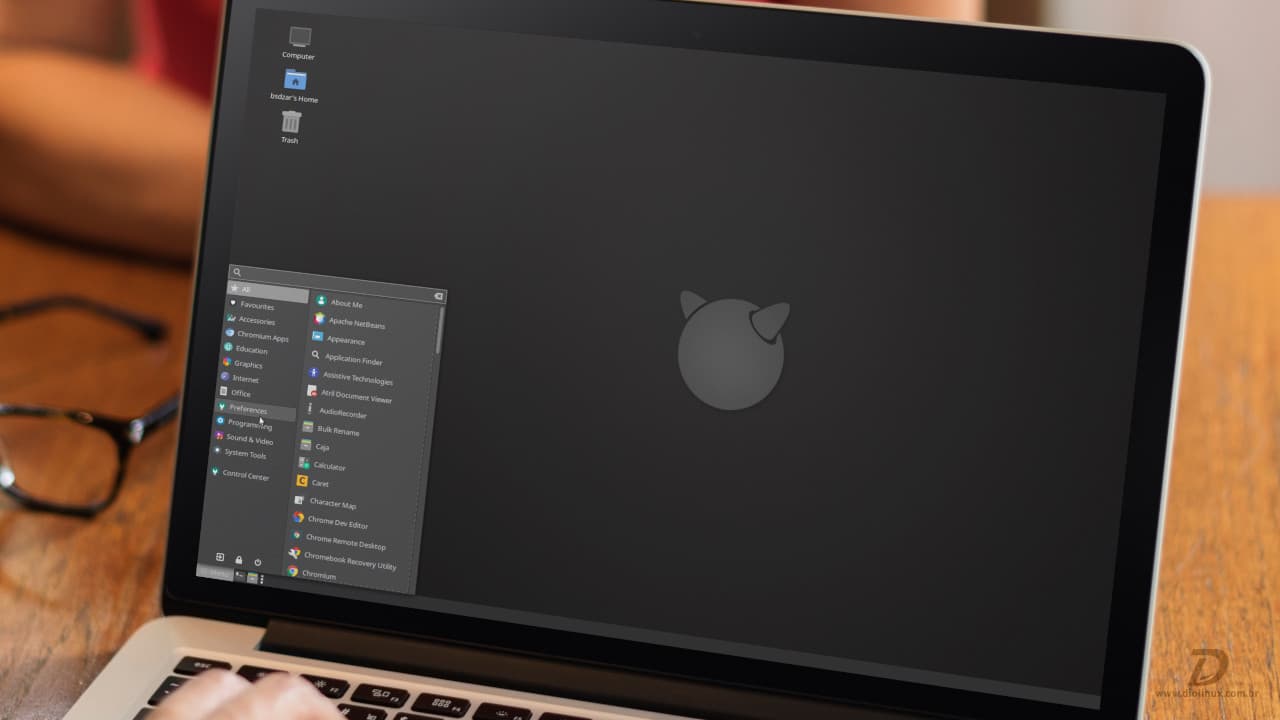
Here, you can choose which graphical interface you want. In my case, I will use the MATE interface. To do this, we need to set up MATE and a login screen to start it.
First, we need to install Xorg. Run the following command:
$ pkg install xorg mate mate-desktop slimNow, to configure the login screen, edit the /etc/rc.conf file by typing:
$ sudo /etc/rc.confThen, add the following lines to the file:
hald_enable="YES"
dbus_enable="YES"
slim_enable="YES"
Next, let's create the xinitrc file:
$ nano ~/.xinitrcIn this file, add the following lines:
export LC_ALL=pt_BR.UTF-8
export LANGUAGE=pt_BR.UTF-8
export LANG=pt_BR.UTF-8
exec mate-session
After that, reboot your system, and you'll have FreeBSD installed and configured on your machine!
Bonus
Install the Homura project to install Steam, Discord, and drivers for gaming on FreeBSD: